Có 1 vài người hỏi làm thế nào upload nhiều file kiểu AJAX với progress bar tương tự như Google Gmail.Câu trả lời đó là Uploadify , 1 plugin cho Jquery có thể làm điều đó trong vài phút.Bài này tôi sẽ nói về vấn đề này.
Bước 1
Download Uploadify JQuery plugin và JQuery Library dùng link bên dưới.
Download JQuery
Download Uploadify
Bạn sẽ cần 4 file như bên dưới :
1. jquery-1.3.2.min.js
2. jquery.uploadify.js
3. uploader.fla
4. uploader.swf
trong thư mục scripts trong thư mục gốc của ứng dụng ASP.NET của bạn.
Bước 2
Mở Visual Studio và hoàn thành như bên dưới
Chèn các file CSS và JS trong thẻ head của trang aspx hoặc trang master
<link rel="Stylesheet" type="text/css" href="CSS/uploadify.css" />
<script type="text/javascript" src="scripts/jquery-1.3.2.min.js"></script>
<script type="text/javascript" src="scripts/jquery.uploadify.js"></script>
Add 1 control FileUpload ASP.Net
<form id="form1" runat="server">
<div style = "padding:40px">
<asp:FileUpload ID="FileUpload1" runat="server" />
</div>
</form>
Đặt đoạn script sau trong thẻ head hoặc trong ContentPlaceHolder trong trường hợp bạn sử dụng Master Pages
<script type = "text/javascript">
$(window).load(
function() {
$("#<%=FileUpload1.ClientID %>").fileUpload({
'uploader': 'scripts/uploader.swf',
'cancelImg': 'images/cancel.png',
'buttonText': 'Browse Files',
'script': 'Upload.ashx',
'folder': 'uploads',
'fileDesc': 'Image Files',
'fileExt': '*.jpg;*.jpeg;*.gif;*.png',
'multi': true,
'auto': true
});
}
);
</script>
Như các bạn thấy chúng ta cần 1 số cài đặt cho FileUpload control. Điểm quan trọng nhất trong đó là'script':'Upload.ashx' cái này sẽ handle FileUpload và lưu file uploaded vào đĩa.
Bên dưới là code của file Upload.ashx
<%@ WebHandler Language="C#" Class="Upload" %>
using System;
using System.Web;
using System.IO;
public class Upload : IHttpHandler {
public void ProcessRequest (HttpContext context) {
context.Response.ContentType = "text/plain";
context.Response.Expires = -1;
try
{
HttpPostedFile postedFile = context.Request.Files["Filedata"];
string savepath = "";
string tempPath = "";
tempPath = System.Configuration.ConfigurationManager.AppSettings["FolderPath"];
savepath = context.Server.MapPath(tempPath);
string filename = postedFile.FileName;
if (!Directory.Exists(savepath))
Directory.CreateDirectory(savepath);
postedFile.SaveAs(savepath + @"\" + filename);
context.Response.Write(tempPath + "/" + filename);
context.Response.StatusCode = 200;
}
catch (Exception ex)
{
context.Response.Write("Error: " + ex.Message);
}
}
public bool IsReusable {
get {
return false;
}
}
}
Như bạn thấy handle này đơn giản chỉ chấp nhận posted files và lưu file vào thư mục là uploads trong thư mục root của website , đường dẫn này đặt trong AppSettings của Web.Config
<appSettings>
<addkey ="FolderPath"value ="uploads"/>
</appSettings >
>
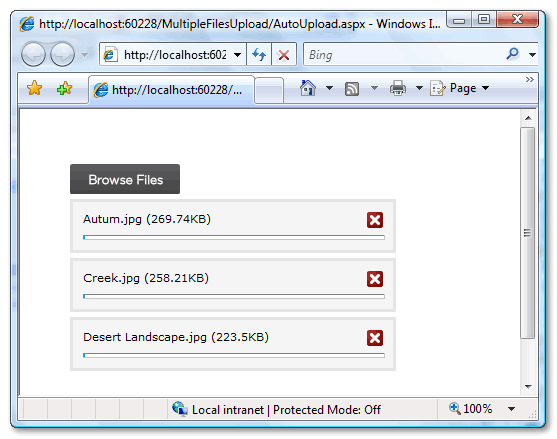
Đó là tất cả những gì chúng ta cần và sau cùng là chạy website chúng ta
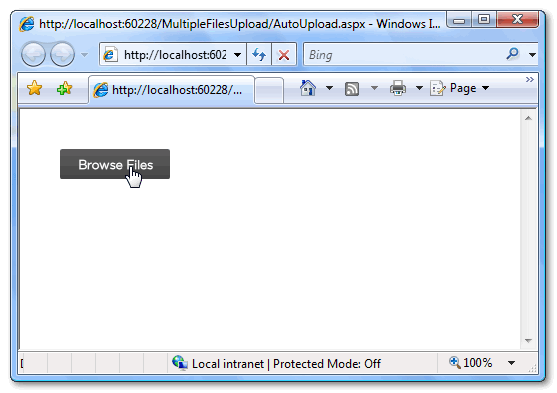
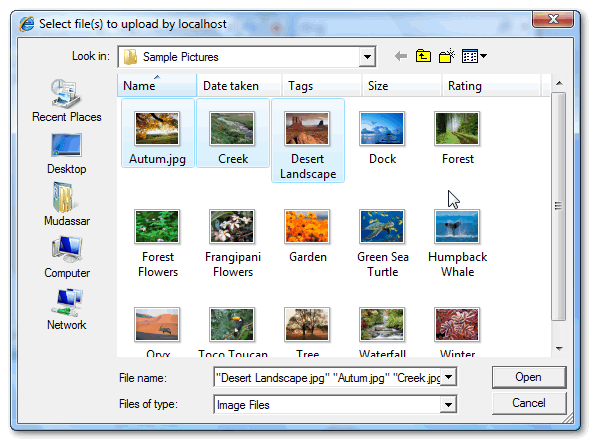
Chọn File để Upload
Bắt đầu upload file